Imagine the velvety richness of coffee ice cream melting on your tongue, releasing a symphony of creamy sweetness with each blissful spoonful. The aroma wafts through the air, teasing your senses and promising a delightful treat that requires absolutely no churning—just pure, unadulterated indulgence.
Picture this: a lazy Sunday afternoon spent on the porch, basking in the sun while savoring your homemade one-step no-churn coffee ice cream. This isn’t just dessert; it’s a celebration of life’s little joys, perfect for those moments when you crave something sweet without the fuss. Get ready to transform your coffee cravings into an unforgettable flavor experience that will leave you wanting more!
Why Is One-step no-churn coffee ice cream So Irresistibly Good?
Easy to Make: With just three simple ingredients, you can whip up this delightful treat in just 10 minutes!
No Churning Needed: Forget the ice cream maker; this recipe is all about convenience without sacrificing flavor.
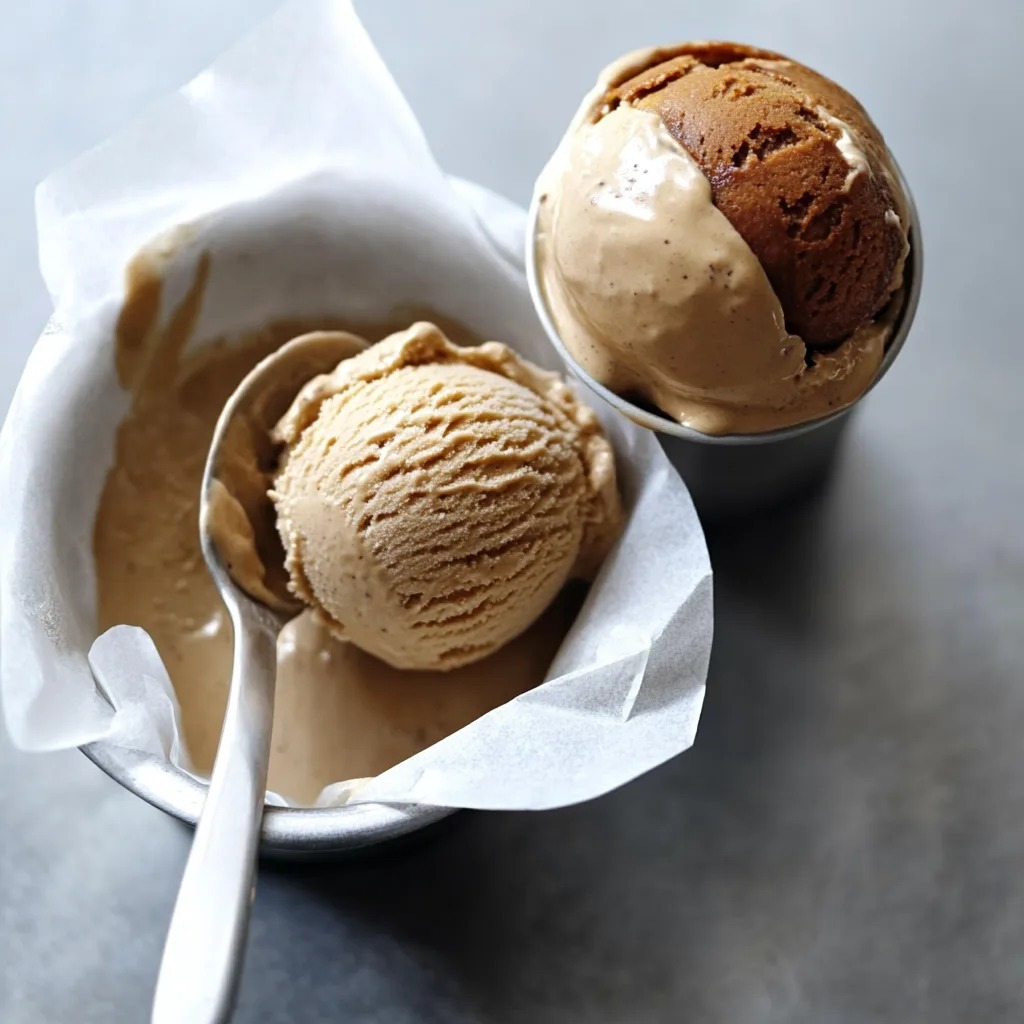
Rich Flavor: The combination of heavy cream, sweetened condensed milk, and strong brewed coffee creates a creamy, indulgent dessert that coffee lovers will adore.
Versatile Delight: Enjoy it on its own or pair it with your favorite desserts for an elevated experience.
Perfect for Any Occasion: Whether it’s a hot summer day or a cozy night in, this ice cream will impress your family and friends every time!
One-step no-churn coffee ice cream Ingredient List
- 2 cups heavy cream – This rich cream provides the luscious texture that makes your ice cream so indulgent and creamy.
- 1 cup sweetened condensed milk – Adds sweetness and a velvety finish, balancing the robust flavor of coffee beautifully.
- 1 cup strong brewed coffee (cooled) – Use your favorite brew to infuse a delightful coffee flavor into your one-step no-churn coffee ice cream.
How to Make One-step no-churn coffee ice cream
1. Whisk Together: In a mixing bowl, whisk together the 2 cups of heavy cream and 1 cup of sweetened condensed milk until smooth. You’re aiming for a lovely creamy texture that’s both rich and inviting!
2. Combine Coffee: Stir in the cooled 1 cup of strong brewed coffee until well combined. The aroma will fill your kitchen, promising a delightful treat ahead.
3. Freeze: Pour the mixture into a freezer-safe container and freeze for at least 4 hours or until firm. Patience is key here; let it chill until it’s perfectly scoopable.
Optional: For added flair, top with chocolate shavings before serving!
Exact quantities are listed in the recipe card below.
Tips for the Best One-step no-churn coffee ice cream
- Choose Quality Coffee: Use freshly brewed, high-quality coffee for the best flavor. Avoid instant coffee to enhance your ice cream’s richness.
- Whisk Well: Ensure the heavy cream and sweetened condensed milk are whisked until smooth and fully combined. This prevents a grainy texture in your one-step no-churn coffee ice cream.
- Cool Your Coffee: Allow the brewed coffee to cool completely before mixing it in. This will help maintain the creamy consistency without melting the base.
- Freezer-Safe Container: Use a container that seals tightly. This prevents ice crystals from forming and keeps your one-step no-churn coffee ice cream creamy and smooth.
- Mind the Freezing Time: Be patient! Freezing for at least 4 hours is crucial for achieving the perfect firm texture without being icy.
How to Store and Freeze One-step no-churn coffee ice cream
Fridge: Store your One-step no-churn coffee ice cream in an airtight container for up to 1 week. This keeps it fresh and preserves its creamy texture.
Freezer: For longer storage, freeze the ice cream in an airtight container. It can last up to 2 months, but be sure to let it sit at room temperature for a few minutes before scooping.
Serving Tips: If you find the ice cream too hard after freezing, simply leave it out for about 5-10 minutes to soften before serving. Enjoy that rich coffee flavor!
One-step no-churn coffee ice cream Variations
Feel free to explore these fun twists that will make your ice cream experience even more delightful!
- Dairy-Free: Substitute coconut cream for heavy cream and use a dairy-free condensed milk. This will give you a tropical flair, perfect for warm days.
- Mocha Delight: Add 1/4 cup of cocoa powder to the base mix for a chocolatey twist. The combination of coffee and chocolate creates an irresistible dessert.
- Nutty Flavor: Mix in 1/2 cup of hazelnut or almond extract. This addition will elevate your ice cream with rich, nutty undertones.
- Spiced Coffee: Blend in 1 teaspoon of cinnamon or a pinch of nutmeg. These spices add warmth and complexity, making each bite feel cozy.
- Vanilla Bean: Fold in the seeds from one vanilla bean pod along with the other ingredients. This will enhance the flavor profile and add lovely flecks throughout.
- Caramel Swirl: Drizzle store-bought caramel sauce into the mixture before freezing. The sweet ribbons of caramel will create a beautiful contrast with the coffee flavor.
- Coffee Liqueur: Replace 1/4 cup of brewed coffee with your favorite coffee liqueur. This adds an adult twist that’s perfect for after-dinner indulgence.
- Crunchy Texture: Stir in 1/2 cup of crushed biscotti or chocolate-covered espresso beans. These additions provide an exciting texture that complements the creamy ice cream perfectly.
Make Ahead Options
Preparing your one-step no-churn coffee ice cream in advance is a fantastic way to save time while ensuring you have a delightful treat ready for any occasion. You can easily whip up the base ingredients—2 cups of heavy cream, 1 cup of sweetened condensed milk, and 1 cup of strong brewed coffee (cooled)—up to 24 hours ahead. Simply follow the preparation steps: whisk together the heavy cream and sweetened condensed milk until smooth, stir in the cooled brewed coffee, then pour the mixture into a freezer-safe container and freeze it for at least 4 hours or until firm. To maintain the creamy texture and rich flavor, make sure to tightly seal your container. When you’re ready to serve, just scoop out the desired amount and enjoy this refreshing one-step no-churn coffee ice cream!
One-step no-churn coffee ice cream Recipe FAQs
Can I use regular cream instead of heavy cream?
While heavy cream is the best choice for this recipe due to its higher fat content, you can use regular cream. However, the texture might be less creamy and more icy, so keep that in mind if you want a luscious mouthfeel.
How should I store leftover coffee ice cream?
Store any leftover coffee ice cream in an airtight container to prevent freezer burn. It can last up to two weeks in the freezer, but trust me, it’s hard to resist! For optimal taste and texture, try to consume it within a week.
What’s the best way to thaw the ice cream before serving?
To enjoy your one-step no-churn coffee ice cream at its best, let it sit at room temperature for about 5-10 minutes before scooping. This will soften it just enough for easy serving while maintaining that delightful creamy texture!
Can I substitute the sweetened condensed milk with another ingredient?
If you’re looking for a dairy-free option, you can try using coconut condensed milk or another non-dairy sweetened alternative. Just remember that this might alter the flavor slightly, but it will still yield a delicious result!
How many servings does this recipe yield?
This delightful treat yields about 4 servings. Each serving is roughly 250 calories, making it a perfect indulgence for yourself or to share with loved ones on a warm day!
What are some possible toppings for my coffee ice cream?
The sky’s the limit! Consider drizzling chocolate syrup, adding crushed nuts, or even sprinkling some cocoa powder or cinnamon on top. A dollop of whipped cream or a sprinkle of espresso beans would elevate your dessert into a café-style experience right at home!

One-step no-churn coffee ice cream
Ingredients
Method
- In a mixing bowl, whisk together the heavy cream and sweetened condensed milk until smooth.
- Stir in the cooled brewed coffee until well combined.
- Pour the mixture into a freezer-safe container and freeze for at least 4 hours or until firm.