
Imagine sinking your spoon into a bowl of Vegan Twix Ice Cream, where the creamy texture melts in your mouth, and the rich notes of chocolate and caramel dance on your taste buds. Picture a perfect summer day, laughter echoing around you as friends gather to share this decadent treat, each bite transporting you to candy-filled childhood memories.
As you savor the sweet, nutty flavors reminiscent of the beloved Twix bar, it’s hard not to smile at how this delightful dessert transforms any occasion into a celebration. Whether it’s a picnic in the park or a cozy movie night at home, this Vegan Twix Ice Cream promises an irresistible flavor experience that leaves everyone craving just one more scoop.
Why Is Vegan Twix Ice Cream So Irresistibly Good?
Indulge in a rich blend of flavors with this vegan treat that perfectly mimics the iconic Twix bar. Simplicity is key: with just 30 minutes of prep, you can create a delightful dessert that requires no cooking. Decadent layers of creamy coconut milk, luscious date caramel, and smooth chocolate come together for a heavenly experience. Crowd-pleasing and versatile, it’s perfect for parties or a cozy night in. Plus, it’s completely plant-based, making it an easy choice for everyone to enjoy!
Vegan Twix Ice Cream Ingredients
For the Ice Cream Base
- 2 cups coconut milk – This rich base gives a creamy texture, perfect for replicating that indulgent ice cream feel.
- 1/2 cup maple syrup – Adds natural sweetness while complementing the other flavors beautifully.
- 1 teaspoon vanilla extract – Enhances the overall flavor profile, making your Vegan Twix Ice Cream truly delightful.
For the Caramel Layer
- 1 cup dates (soaked in water) – These provide natural sweetness and a sticky texture reminiscent of classic caramel.
- 1/4 cup coconut milk – Helps blend everything smoothly while adding a hint of coconut flavor.
- 1 teaspoon vanilla extract – A touch more vanilla elevates the caramel taste, making it extra special.
For the Chocolate Layer
- 1/2 cup cocoa powder – This unsweetened cocoa delivers rich chocolatey goodness that layers perfectly over the ice cream.
- 1/4 cup coconut oil (melted) – It helps to bind the chocolate layer and gives it a silky finish when set.
- 1/4 cup maple syrup – Balances the bitterness of cocoa with sweetness, enhancing that signature chocolate flavor in your Vegan Twix Ice Cream.
How to Make Vegan Twix Ice Cream
1. Blend coconut milk, maple syrup, and vanilla extract until smooth. This will create a luscious ice cream base that’s rich and creamy, perfect for your Vegan Twix Ice Cream.
2. Chill the mixture in the refrigerator for at least 2 hours. This step is crucial as it helps the flavors meld together beautifully and ensures a smooth churn later.
3. Pour the mixture into an ice cream maker and churn according to the manufacturer’s instructions. You’ll want to watch it transform into a delightful soft-serve texture—usually takes about 20-30 minutes.
For the Caramel Layer:
4. Blend soaked dates, coconut milk, and vanilla extract until creamy. This sweet concoction mimics traditional caramel and adds a heavenly layer to your dessert.
For the Chocolate Layer:
5. Mix cocoa powder, melted coconut oil, and maple syrup until well combined. You want a silky chocolate sauce that will drizzle perfectly over the ice cream layers.
Assemble Ice Cream:
6. Layer the ice cream base, caramel, and chocolate in a container. Alternate layers for that classic Twix look and taste—don’t be shy with generous dollops!
7. Freeze for at least 2 hours before serving. This final freeze will solidify all those delicious layers into one unforgettable treat.
Optional: Top with crushed nuts or shredded coconut for added texture!
Exact quantities are listed in the recipe card below.
Expert Tips
- Chill the Base: Make sure to chill your ice cream base for at least 2 hours. This helps achieve a creamy texture in your Vegan Twix Ice Cream.
- Soak Dates Properly: Soaking dates in warm water softens them, making it easier to blend into a smooth caramel layer. Aim for at least 30 minutes.
- Blend Thoroughly: When preparing the caramel layer, ensure the mixture is creamy and free of lumps. A powerful blender works wonders here!
- Check Consistency: The chocolate layer should be pourable but not too runny; adjust with more cocoa or coconut oil as needed for the perfect balance.
- Layer Generously: When assembling your Vegan Twix Ice Cream, don’t skimp on the layers! The more caramel and chocolate you add, the richer the flavor.
- Freeze Well: After assembling, freeze for a minimum of 2 hours. This ensures that all layers meld beautifully together for that delightful Twix-inspired treat.
How to Store and Freeze Vegan Twix Ice Cream
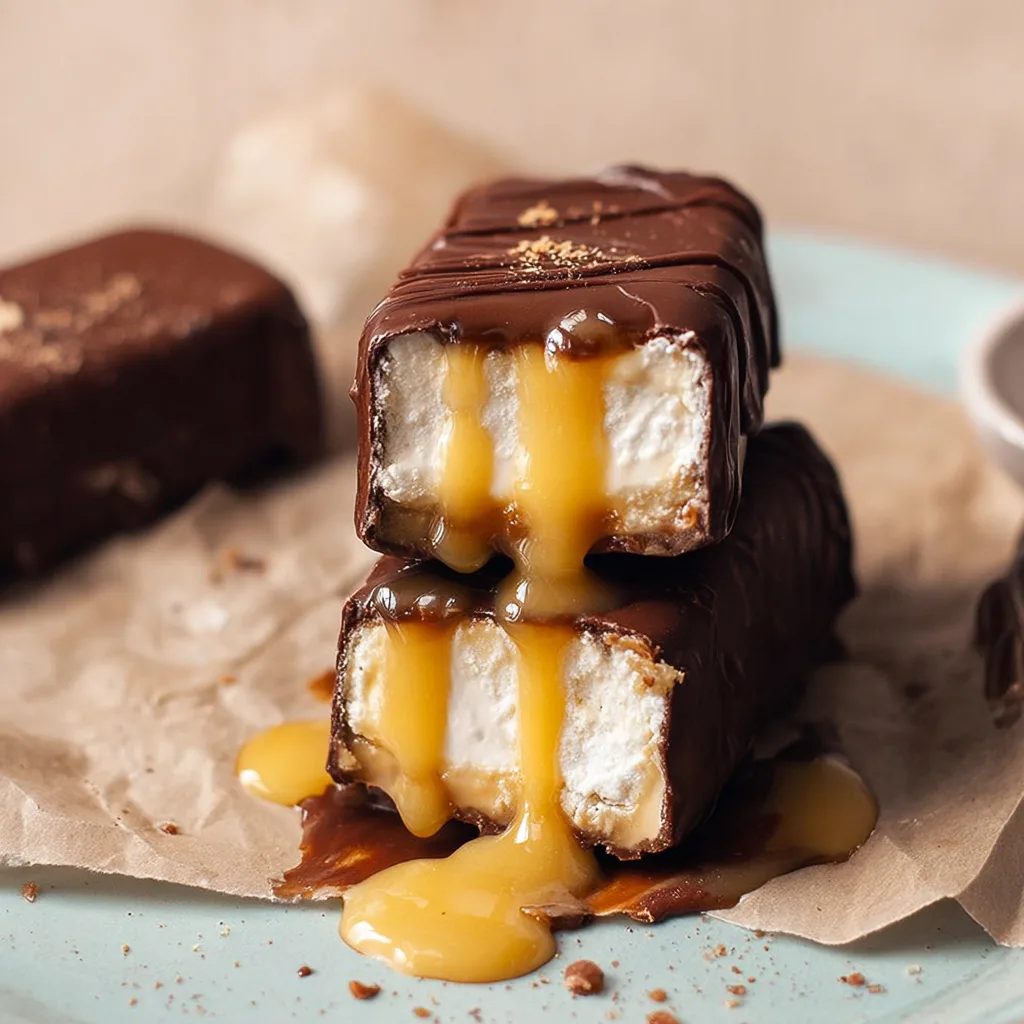
- Freezer: Store your Vegan Twix Ice Cream in an airtight container for up to 2 weeks. This keeps it fresh and prevents freezer burn.
- Fridge: If you have leftover ice cream, it can be kept in the fridge for up to 3 days, but it will soften considerably.
- Serving: Before serving directly from the freezer, let the ice cream sit at room temperature for about 5-10 minutes to soften for easy scooping.
- Repackaging: If you’re not finished with your Vegan Twix Ice Cream, consider repackaging it into smaller containers. This helps maintain its texture and flavor longer.
Vegan Twix Ice Cream Your Way
Feel free to unleash your creativity and make this treat uniquely yours with these delightful variations!
- Nutty Crunch: Add 1/2 cup chopped nuts to the ice cream base for a delightful texture and flavor contrast. Almonds or pecans work beautifully, bringing a satisfying crunch that mimics the original Twix bar.
- Salted Caramel: Mix in a pinch of sea salt into the caramel layer for a mouthwatering sweet-salty balance. This simple addition elevates the flavors and adds depth, making each bite truly irresistible.
- Chocolate Hazelnut: Substitute coconut milk with hazelnut milk in the ice cream base for a rich, nutty flavor. This twist creates an indulgent experience reminiscent of classic chocolate-hazelnut spreads, perfect for chocolate lovers!
- Minty Fresh: Incorporate 1/2 teaspoon peppermint extract into the ice cream base for a refreshing minty twist. This variation is perfect for those who enjoy a cool burst of flavor that complements the chocolate beautifully.
- Spicy Kick: Add a dash of cayenne pepper or chili powder to the chocolate layer for an unexpected heat. The warmth enhances the chocolate’s richness while providing an exciting kick that will surprise your taste buds.
- Creamy Coconut: Replace maple syrup with agave nectar in the caramel layer for a different sweetness profile. This adjustment maintains the creaminess while offering an alternative flavor that pairs perfectly with coconut.
- Fruit Infusion: Blend in 1/2 cup pureed ripe bananas into the ice cream base for added natural sweetness and creaminess. This fruity addition not only enhances texture but also brings a lovely banana undertone to your dessert.
- Cacao Nibs: Fold in 1/4 cup cacao nibs into the finished ice cream for an extra chocolate punch and delightful crunch. These little gems add both texture and rich chocolate flavor, making every scoop even more enjoyable.
Make Ahead Options
Preparing Vegan Twix Ice Cream is a fantastic way to streamline your dessert plans while indulging in a delicious treat. You can easily prep the ice cream base, caramel, and chocolate layers in advance. For the ice cream base, simply blend 2 cups of coconut milk with 1/2 cup of maple syrup and 1 teaspoon of vanilla extract until smooth. Chill this mixture in the refrigerator for at least 2 hours before churning it in your ice cream maker. The caramel layer can be made by blending 1 cup of soaked dates with 1/4 cup of coconut milk and another teaspoon of vanilla extract until creamy, which can also be prepared up to 3 days ahead. Finally, mix together 1/2 cup of cocoa powder, 1/4 cup of melted coconut oil, and 1/4 cup of maple syrup for the chocolate layer. Assemble the layers in a container and freeze for at least 2 hours before serving. This makes it easy to whip out a scoop of Vegan Twix Ice Cream whenever the craving strikes!
Vegan Twix Ice Cream Questions Answered
What type of coconut milk should I use for the ice cream base?
For the creamiest texture, opt for full-fat coconut milk. This will give your Vegan Twix Ice Cream a rich and luscious base that truly mimics traditional ice cream. You can also use light coconut milk, but the end result may be less creamy.
How long should I chill the ice cream mixture before churning?
Chill your blended mixture in the refrigerator for at least 2 hours. This step is crucial as it helps to achieve a smoother consistency when you pour it into your ice cream maker. The colder the mixture, the better the churn!
Can I make this recipe without an ice cream maker?
Absolutely! If you don’t have an ice cream maker, pour your chilled mixture into a shallow container and freeze it. Stir every 30 minutes for about 2-3 hours to break up any ice crystals until you reach a soft-serve consistency.
How do I store leftover Vegan Twix Ice Cream?
Store any leftover ice cream in an airtight container in the freezer. It will stay fresh for about two weeks. Just remember to let it sit at room temperature for a few minutes before scooping, as it can become quite hard!
Can I substitute dates in the caramel layer with something else?
Yes! If you’re not a fan of dates, you can use maple syrup or agave nectar as a sweetener. However, keep in mind that using another sweetener will alter the texture and flavor of the caramel layer, making it less chewy and more syrupy.
What’s the serving size for this recipe?
This recipe makes about 4 servings, each containing approximately 250 calories. Feel free to adjust serving sizes based on your preference or the occasion—after all, who could resist an extra scoop of this delicious treat?
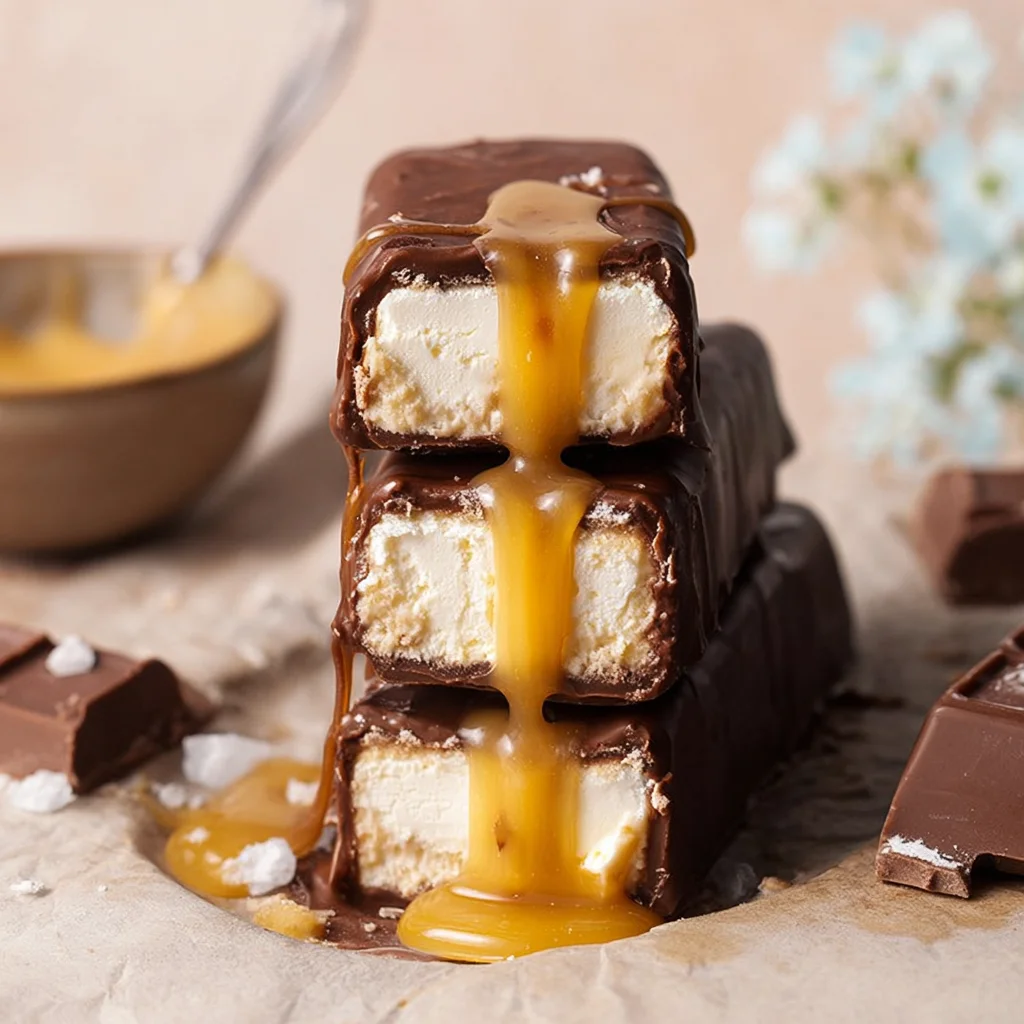
Vegan Twix Ice Cream
Ingredients
Method
- Blend coconut milk, maple syrup, and vanilla extract until smooth.
- Chill the mixture in the refrigerator for at least 2 hours.
- Pour the mixture into an ice cream maker and churn according to the manufacturer's instructions.
- Blend soaked dates, coconut milk, and vanilla extract until creamy.
- Mix cocoa powder, melted coconut oil, and maple syrup until well combined.
- Layer the ice cream base, caramel, and chocolate in a container.
- Freeze for at least 2 hours before serving.